
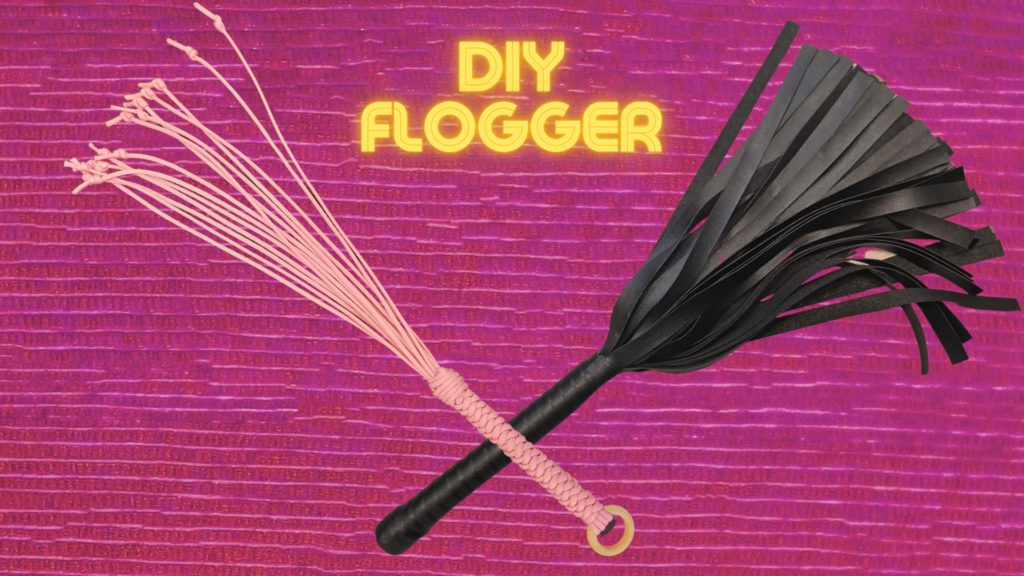
If you’re not ready to spend money on a BDSM flogger, don’t have access to one, or like me, just love a good craft project, you’re in the right place!
This is a DIY guide on how to make your own Flogger.
While DIY floggers can be made from all kinds of materials depending on how nice or nasty you want to be, today we’re going to make a flogger out of parachute cord. It is cheap and easy to find at most hardware or craft stores.
We will also make a DIY flogger out of leather or vegan leather, depending on your preferences.
I’ve kept the materials as cheap and simple as possible and will suggest substitutions along the way, in case you can’t find that particular item.
Floggers are great for all types of sensations, from a teasing tickle to a stinging slap.
Not to mention, the psychological excitement involved for both parties can add some spice to your BDSM play.
They are a great tool for both beginners and advanced BDSM users and come in a wide variety of materials and styles.
Happy crafting!
1. DIY Flogger
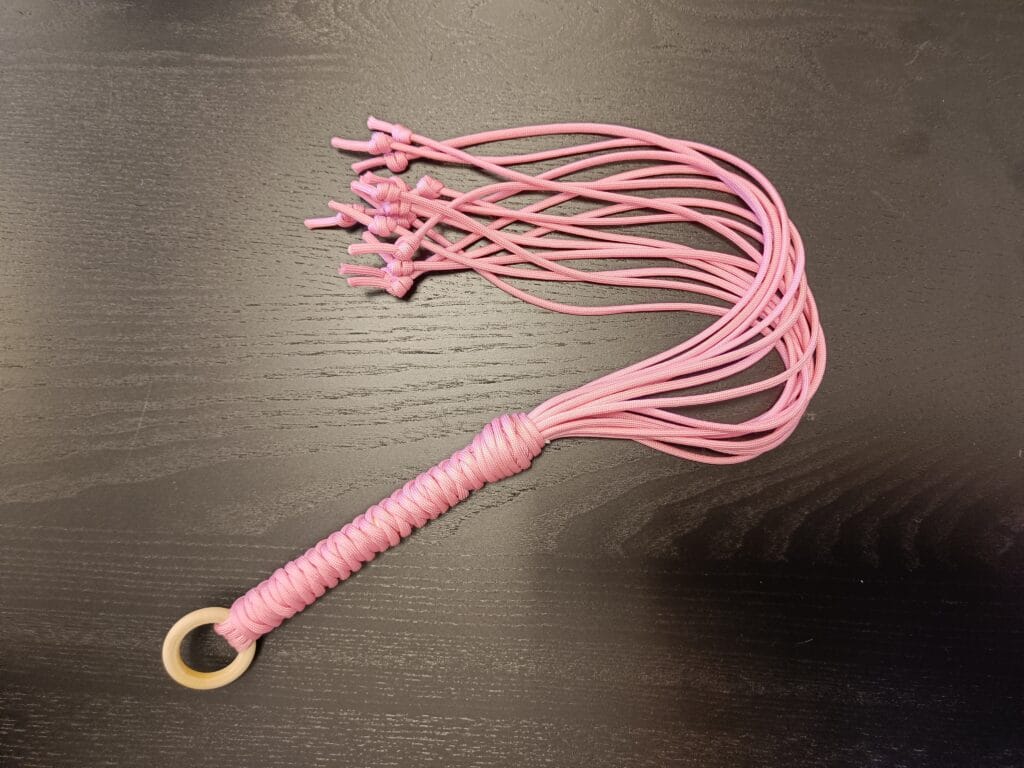
Materials:
- Wooden or metal ring (a metal ring from a keychain would also work well)
- parachute rope
- Thin cord or electrical tape.
- Scissors
- textile glue
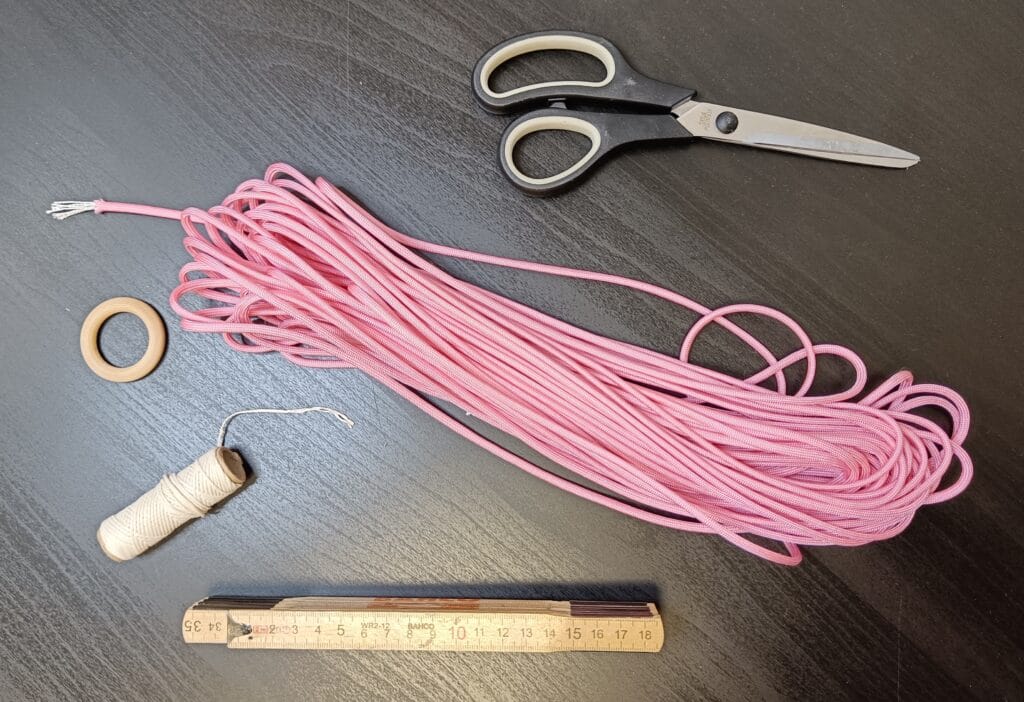
How to make a whip:
- Cut seven pieces of paracord, each measuring 52 inches.
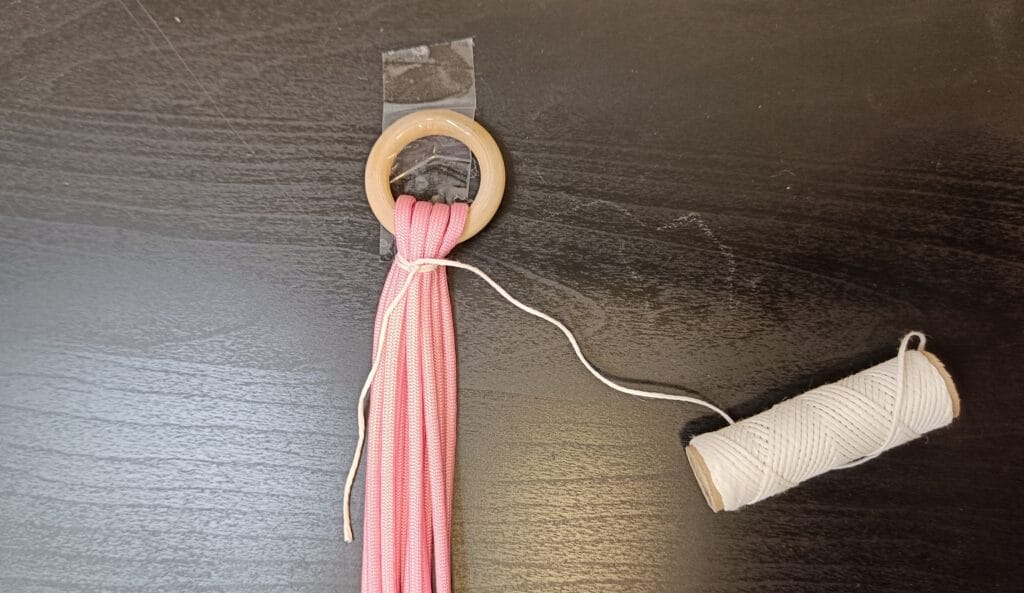
- Loop them through the wooden or metal loop so that the loop is in the middle of the cords.
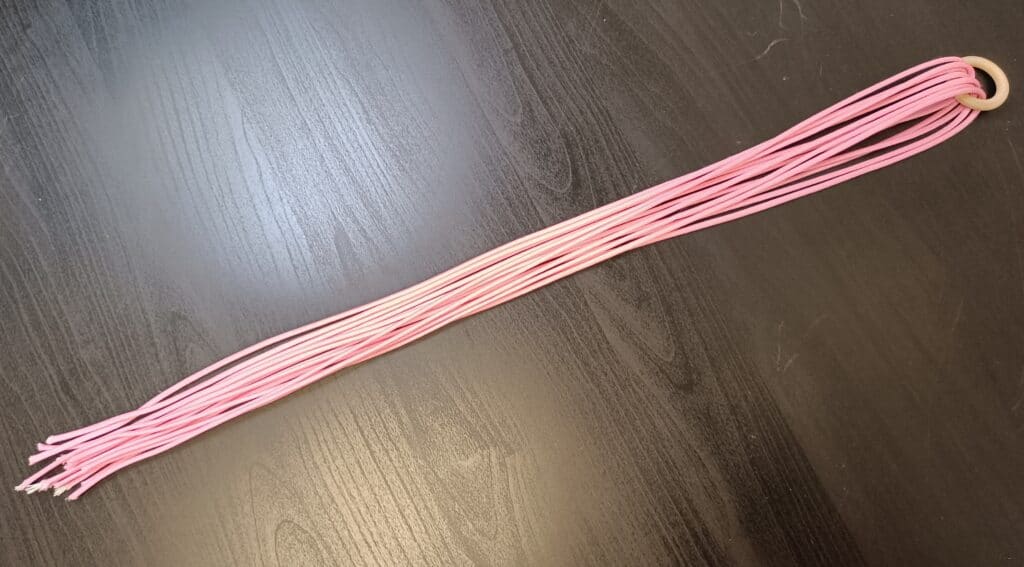
3. Use thin cord or electrical tape to gather the paracord and tie it tightly as close to the loop as possible. It is useful to tape the bow to the table, so that both of you have your hands free.
4. Continue to tightly wrap the wire or electrical tape around the wires to form the handle. I made mine about 7 inches, but you can make it any size that fits your hand – one of the joys of making your own! You want to keep it nice and tight to give your handle a strong core.
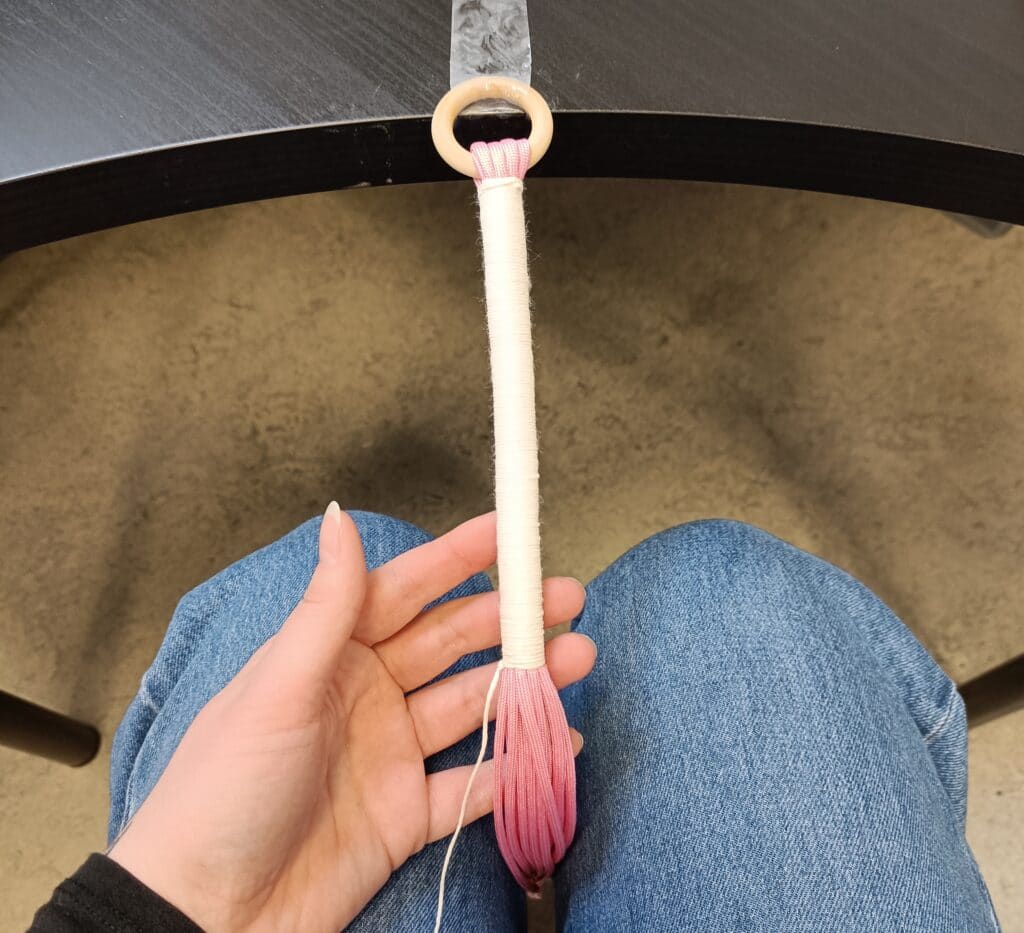
5. Next we will make the handle stronger and a little more aesthetically pleasing by using some of the remaining paracord to cover it. You will need to cut two 60cm pieces of paracord.
6. Align the two lengths of paracord and find the middle. Align the center of the two lengths behind the center of the handle, near the wood or metal loop.
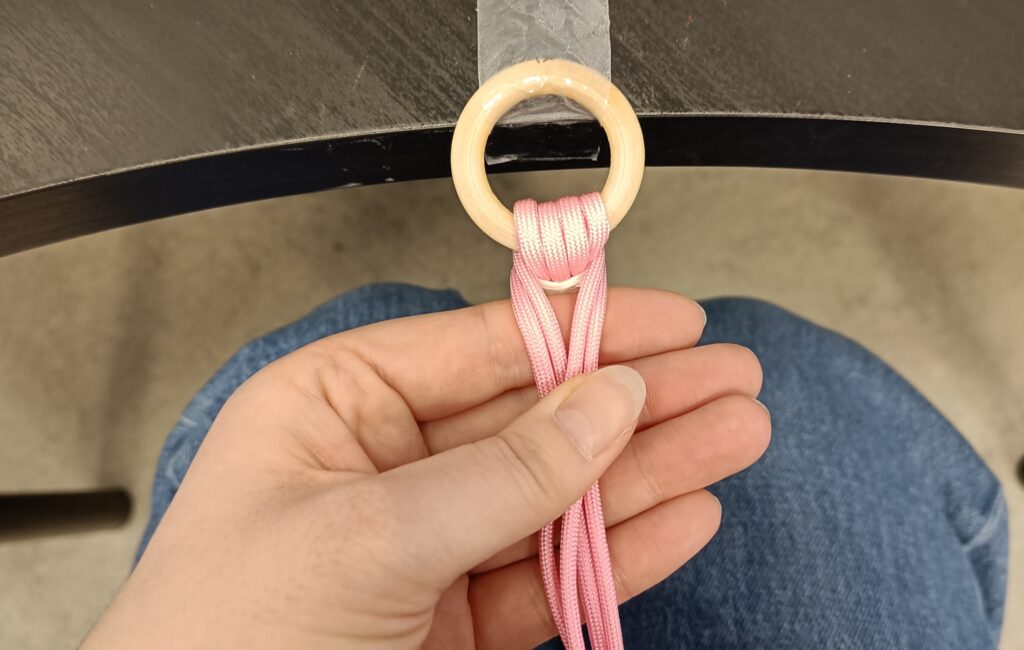
7. Cross the top right thread over the front of the handle to the left side and then cross the top left thread over the top right thread. Next, take the thread that is now on top of the right side and cross it over the left side. Then, cross the top thread on the left side and cross it to the right side, passing between the other two threads on the left. It should look like the photo.
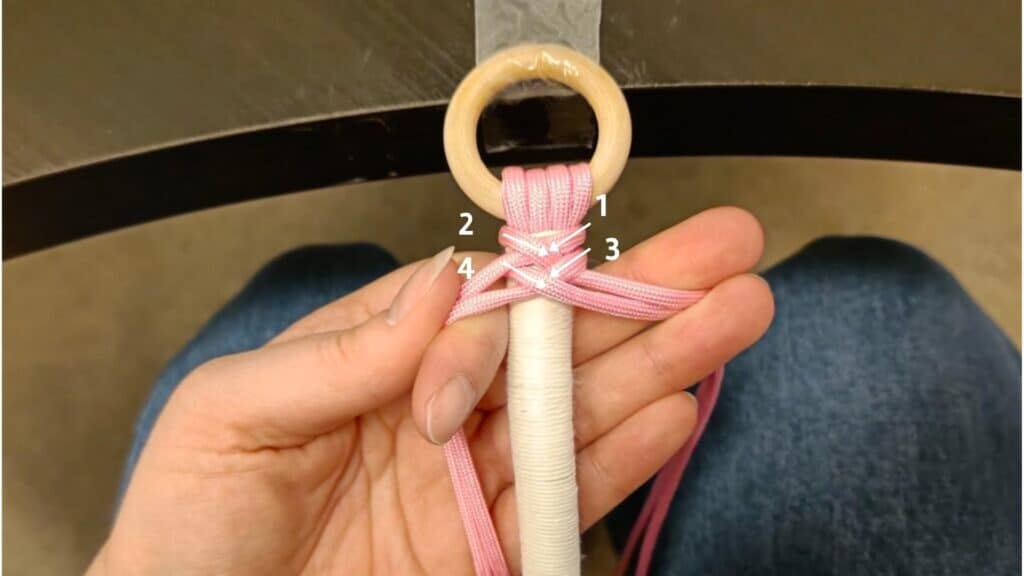
8. The pattern will now repeat. Take the top thread on the left, wrap it around the back of the handle and then between the two threads on the right. Next, take the top thread on the right, wrap it around the back of the handle and between the two threads on the left.
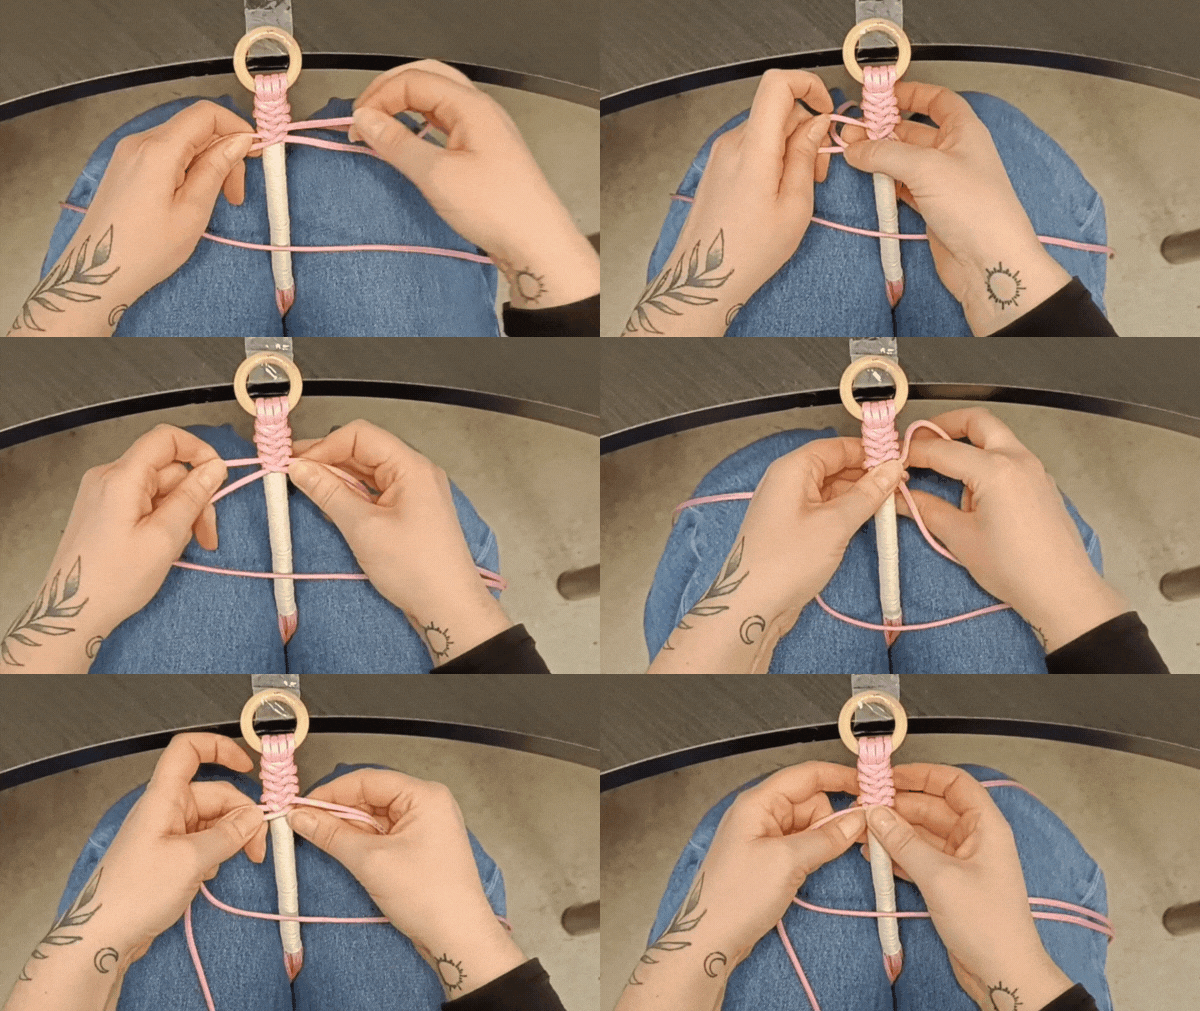
9. Continue until you reach the end and then tie the ends. I tied one in the front and one in the back to keep a smooth finish. I also added a little fabric glue to each knot for extra security and melted the ends of the paracord with a lighter. But be careful!
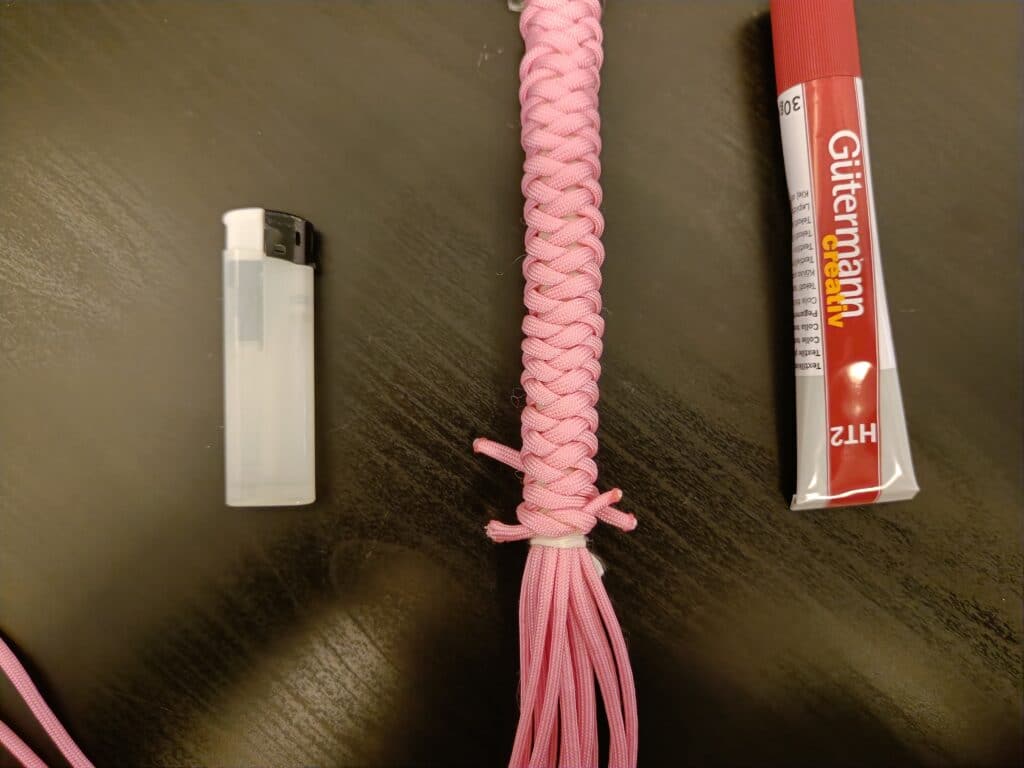
10. Next, we are going to cover the end with a collection knot. Take about 60cm of paracord, form a loop at one end and align it with the bottom end of the handle.
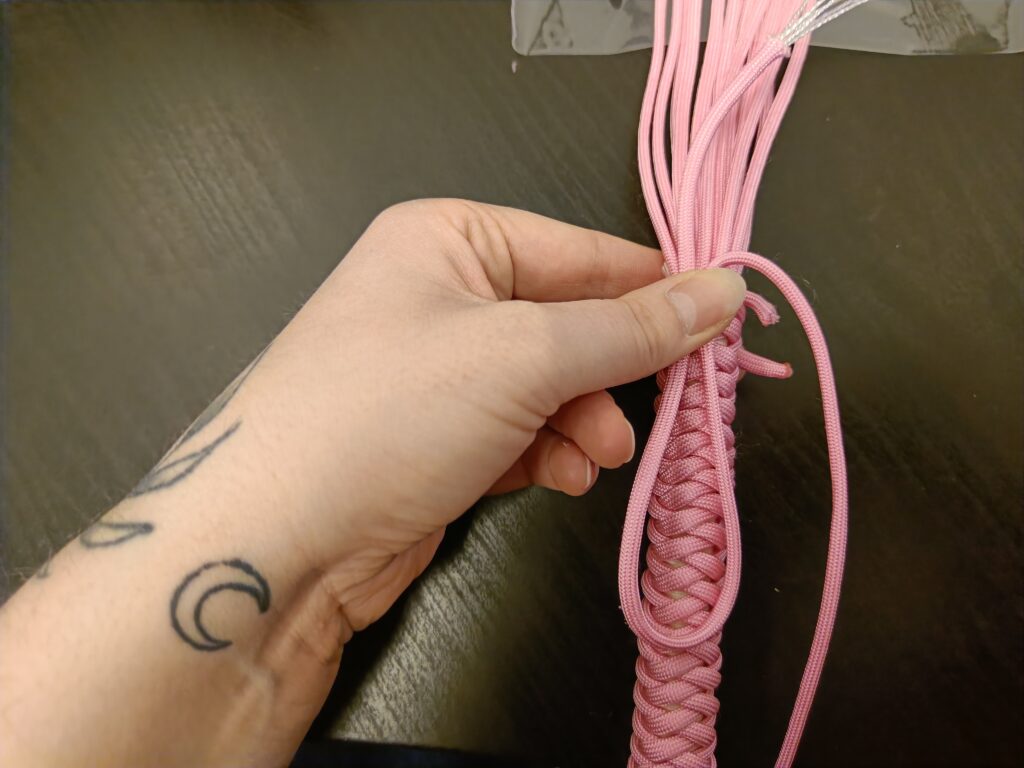
11. Start wrapping the long end around the handle to cover any loose ends, about 8 times, but whatever feels best to you. When you’re happy, pass the end through the loop you made in step 9. You can then pull the end at the top of the loop (the one you weren’t working on) to pass the working end.
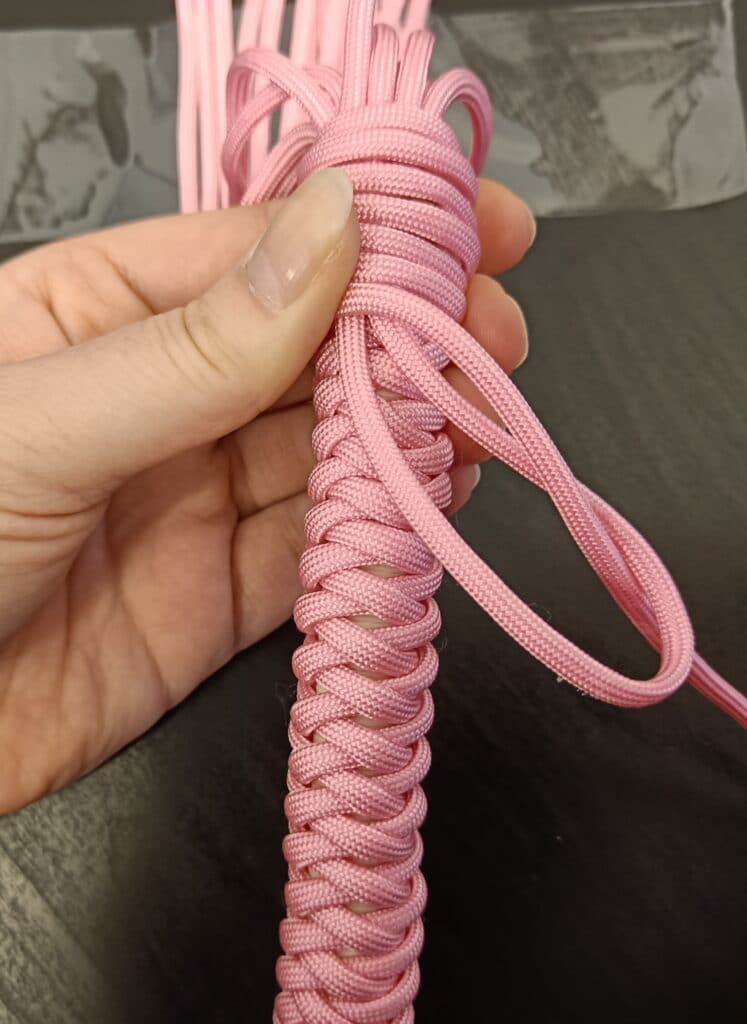
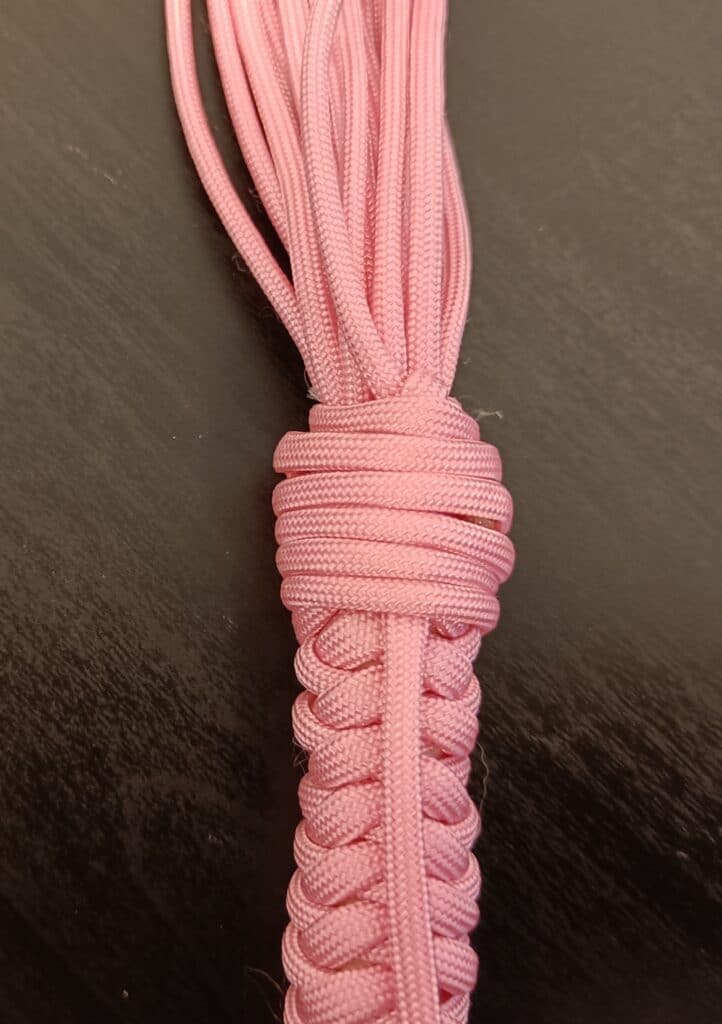
12. Trim the ends and melt them slightly with a lighter to prevent them from fraying.
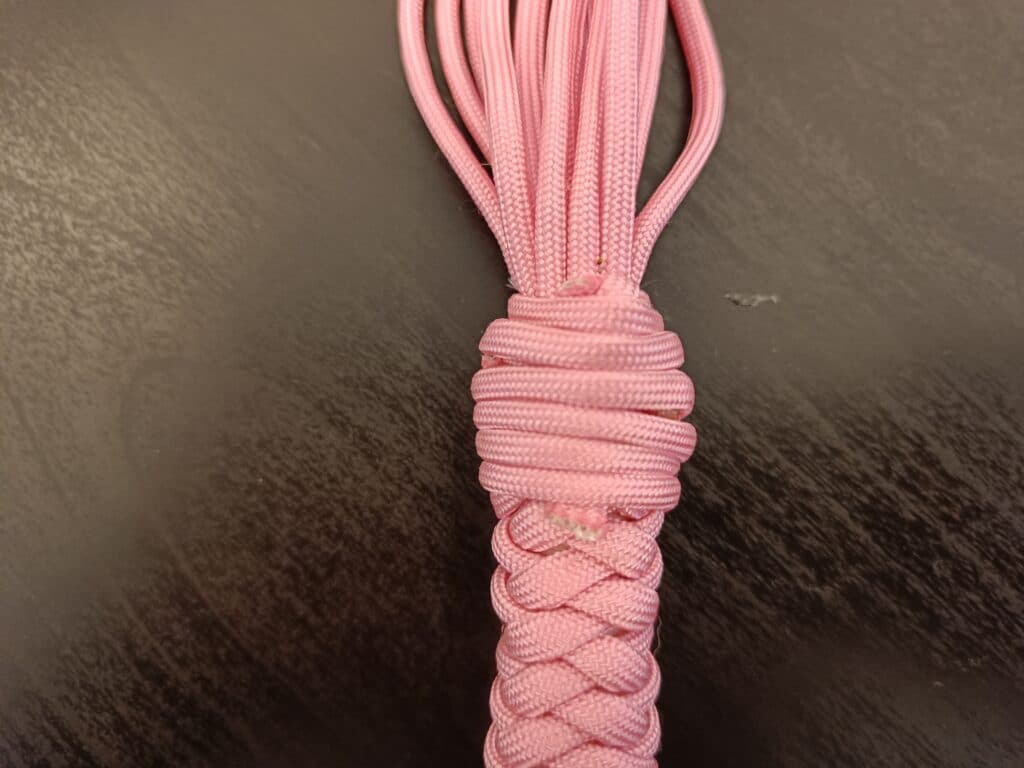
13. The last step is to finish the ends. At the end of each fall (strand) of the whip, tie a double knot near the end; This is a standard knot, but pass the end through the loop twice instead of once and then tighten to make a neat knot.
14. The last step is to trim the tips a little to tidy everything up and then you’re ready to try out your new flogger! It was a big hit at the office!
2. How to make a leather (or synthetic leather) flogger
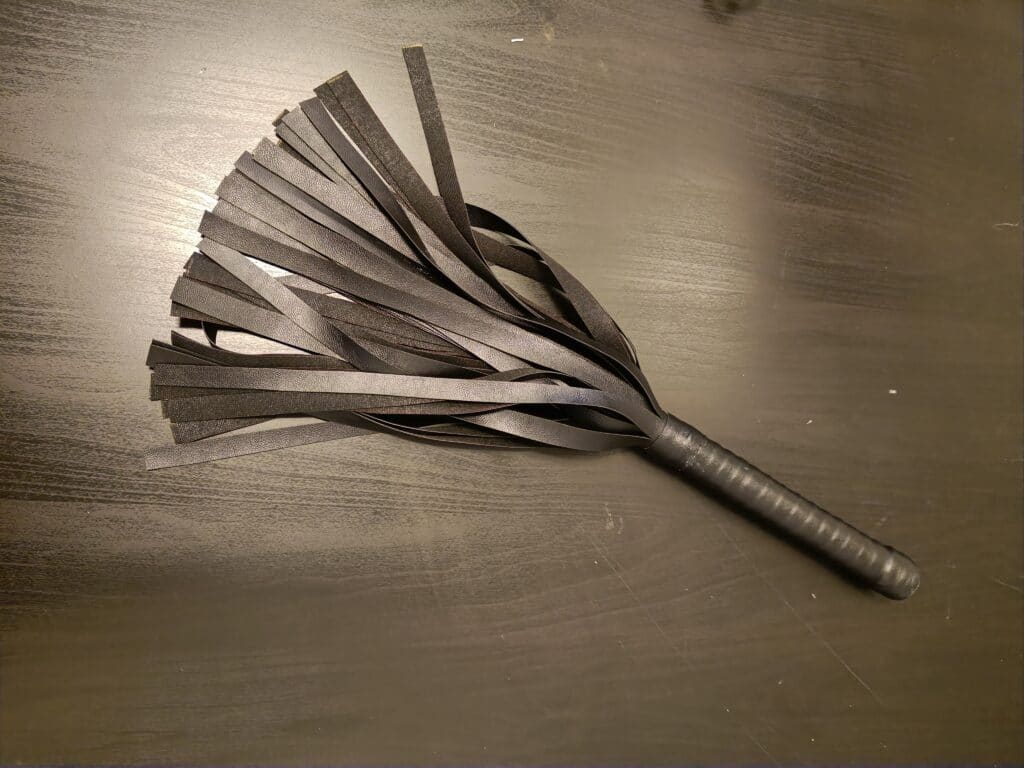
This next DIY is perfect if you love the look or feel of leather. This is a leather whip with more drops than the paracord whip, giving a stronger blow. Plus, it’s also a little less technical to make!
Materials:
- 50 x 20 inches leather or faux leather
- Chalk or pen to mark the leather.
- Wooden stick for handle core: approx. 8 inches (I used a disposable toothpick)
- Ruler
- Fabric glue (one that is suitable for leather/faux fur)
- Scissors or rotary cutter and cutting board.
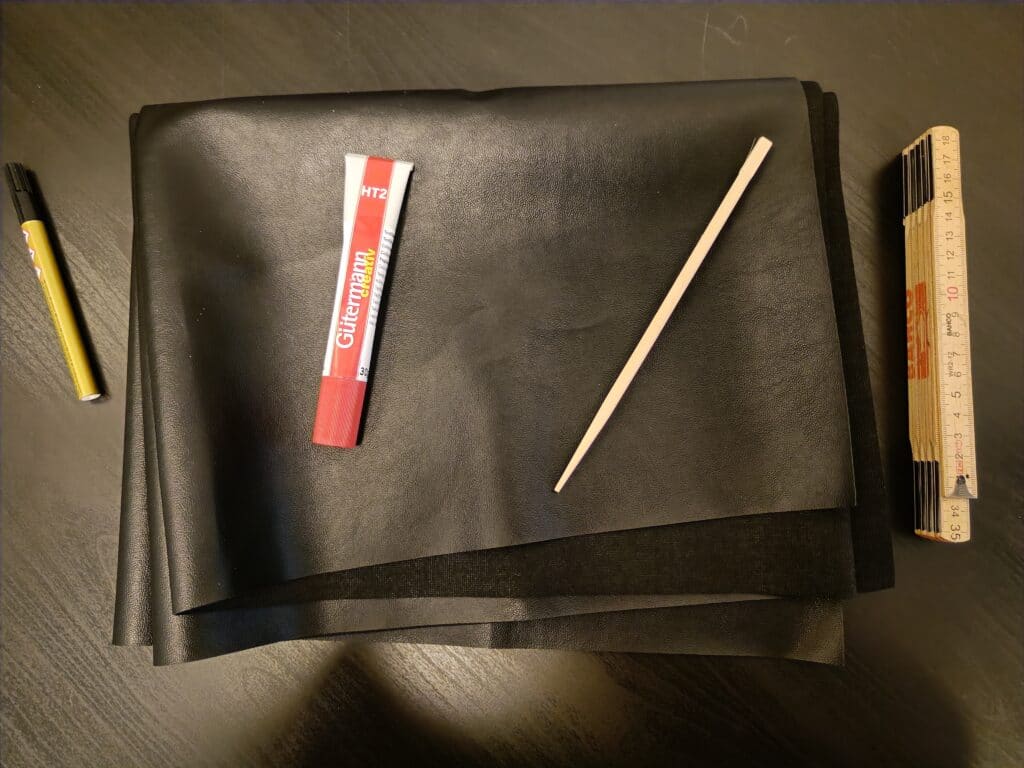
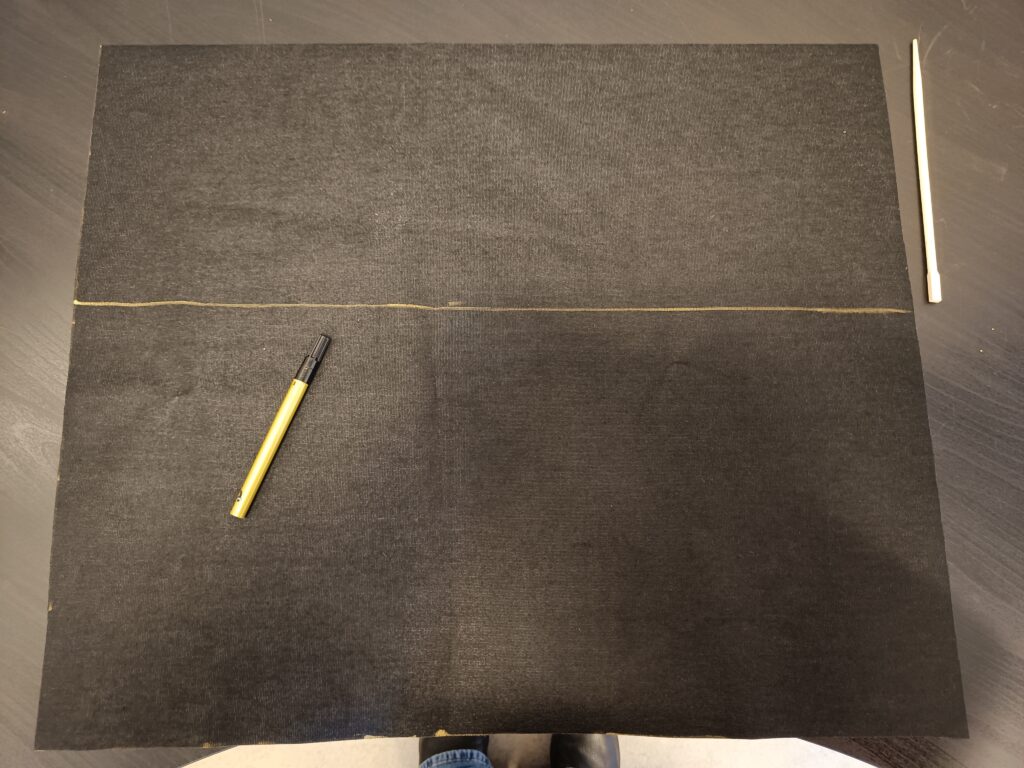
- Lay out the fabric and cut a 20 x 24 inch rectangle. Measure the length of the wooden stick for the handle and use this measurement to make a mark on both sides of 20 inches. Connect the marks to mark the handle section.
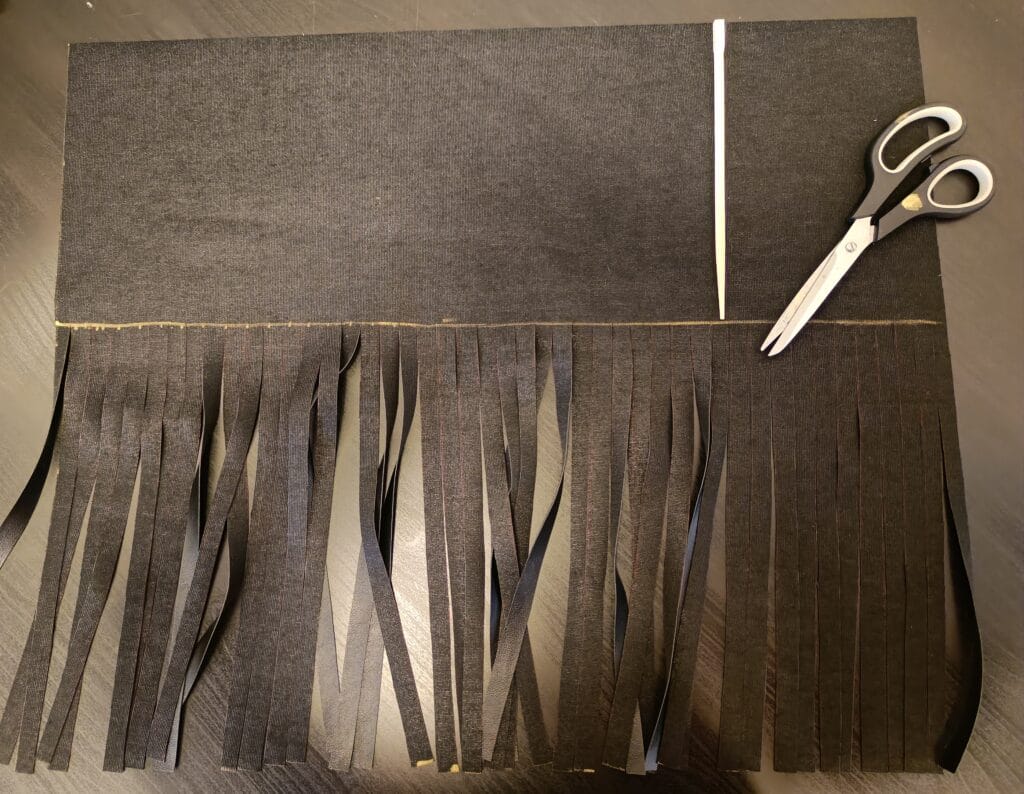
2. On the other section of the fabric, mark 0.5-inch vertical lines along the 24-inch side; These will be the falls of his whip. Cut along the lines until you reach the line you made in the first step.
3. Apply fabric glue to the handle section of the fabric. Be sure to follow the directions for the fabric glue as most will need to be left for 3 or 4 hours to become tacky. You may also want to do this outdoors; Unfortunately for my colleagues, I realized it too late and subjected them all to some pretty horrible glue fumes.
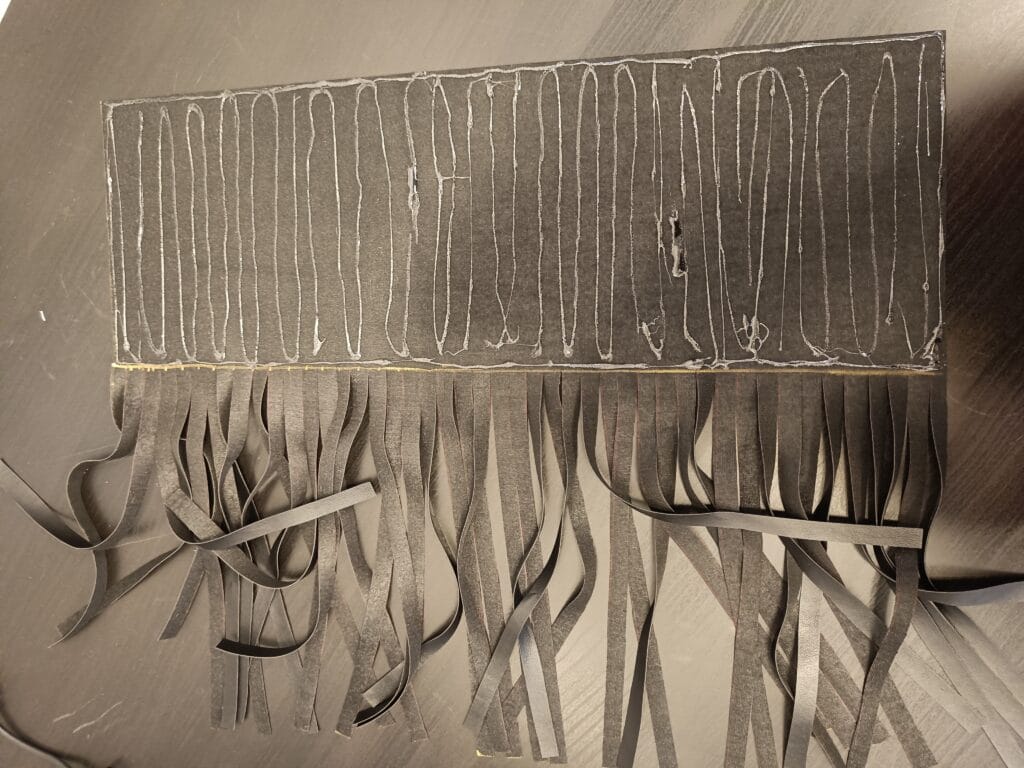
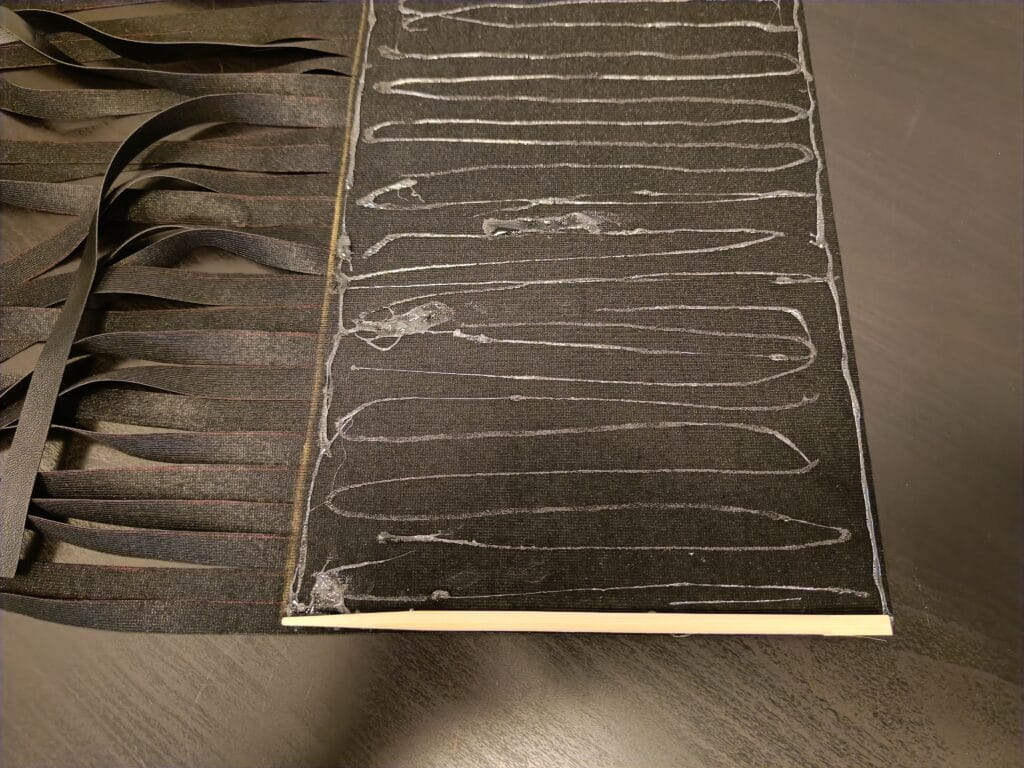
4. When the glue is ready, place your wooden stick on one end and start rolling the fabric, trying to keep the edges straight.
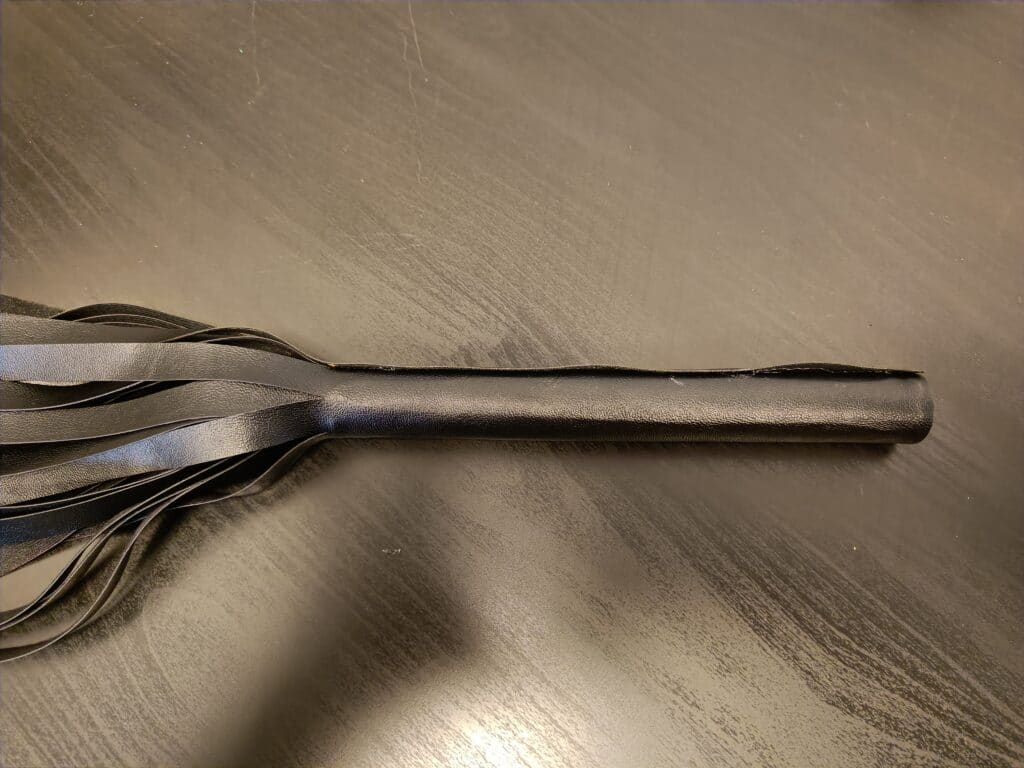
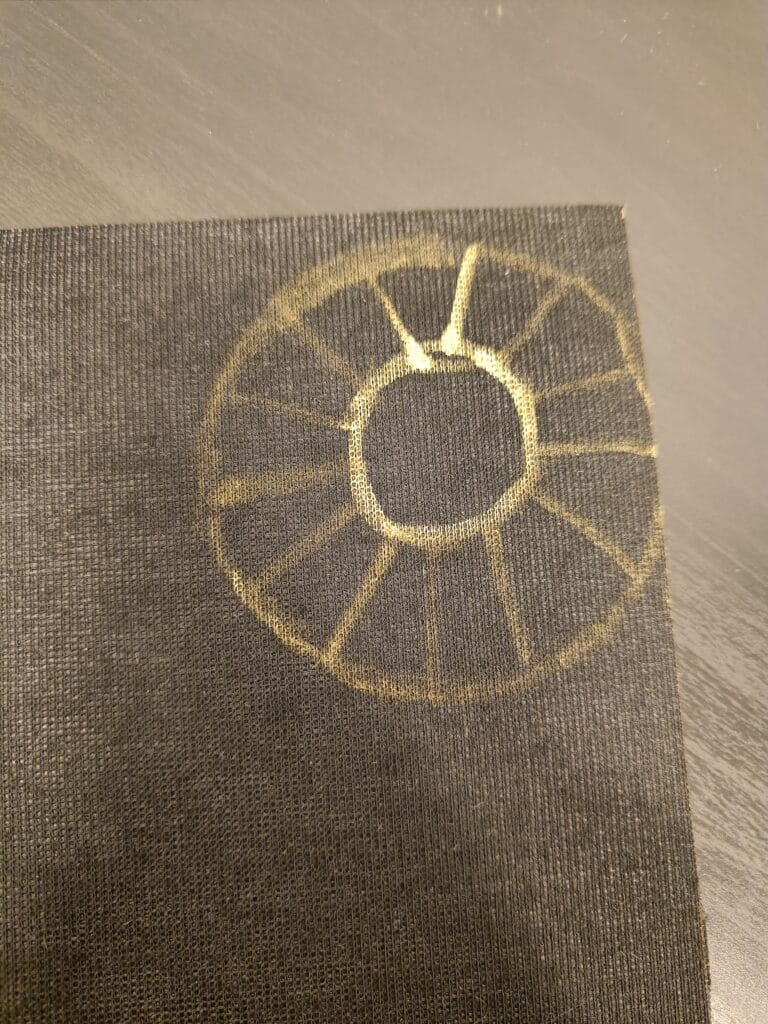
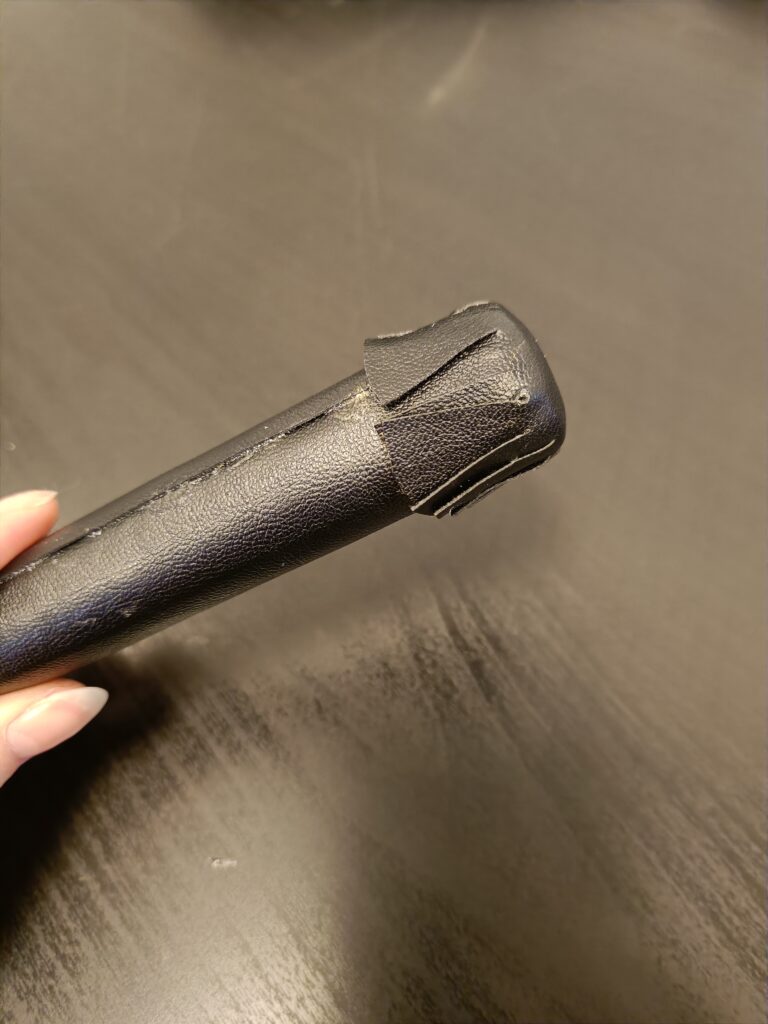
5. Trace around the end of the handle and draw a larger circle (about an inch larger on all sides) around it, and mark lines from the outer circle to the inner circle. Cut around the outer circle and cut along the lines to create flaps. Cover the inner circles and flaps with glue and let the glue become tacky. Place the circle over the end of the handle, press the flaps down, and hold firmly while the glue hardens.
6. Cut a 50 inch x 0.5 inch strip of fabric and apply glue to the first few inches. Once the glue has become tacky, wrap the end around the top of the handle and then continue wrapping the fabric around the handle, stretching it slightly as you go to keep it tight. When you get close to reaching the falls of the whip, apply a little more glue to the last few inches and wrap it tightly around the end to finish the whip.
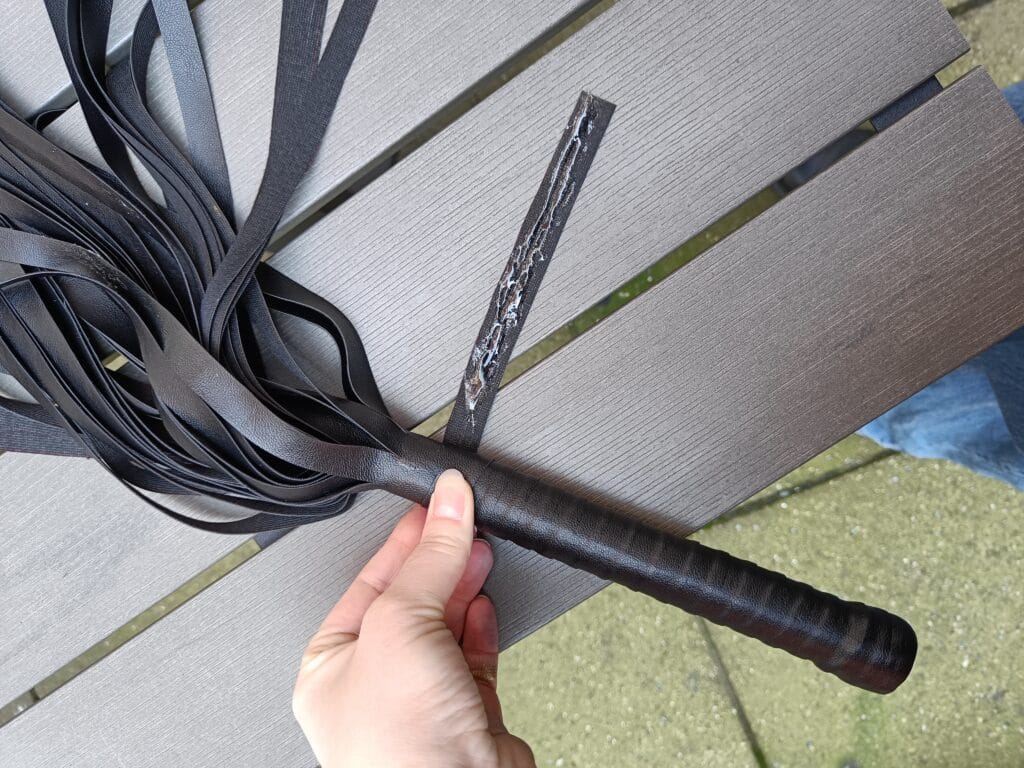
And there you have your leather whip ready to use!
IMPORTANT INFORMATION: We do not recommend making your own sex toys and always recommend that you purchase specifically made sex toys from a reputable store. We are in no way responsible for any damage caused by the use or exchange of these DIYs. You are 100% responsible for the result if you decide to make your own sex toys. You can find our test-winning products here: https://bedbible.com/bdsm-whips/ and https://bedbible.com/flogger/
Flagellator Safety
- Practice your skills on a pillow or couch before spanking someone else.
- Always set boundaries and a safe word before you begin.
- Only practice flogging when everyone involved is safe, sane, sober, and with their consent.
- Do not use the flogger on the face/head, on organs or on joints and bones.
- Stick to fleshy areas like the buttocks, but be careful to avoid the spine and tailbone.
- Try to prevent the tails of the whip from wrapping around the recipient’s body, finding the correct distance from the whip, as this can be painful.
How to use a whip
- Start with long strokes over the body to warm the flagellate and get used to the sensation. This is also great for building anticipation!
- Follow up with some gentle stroking on a fleshy area like the buttocks (be sure to avoid the tailbone)
- If desired, slowly increase the intensity to more powerful strokes, making sure to check in with the whipper as you progress.
- Don’t forget the post game! Rub lotion into the flogee’s skin, snuggle it, and eat and drink something.